


50s design ideas for modern interiors
Mid-century modern design has outlived plenty of trends for one simple reason: it still works. The clean lines, warm woods,…

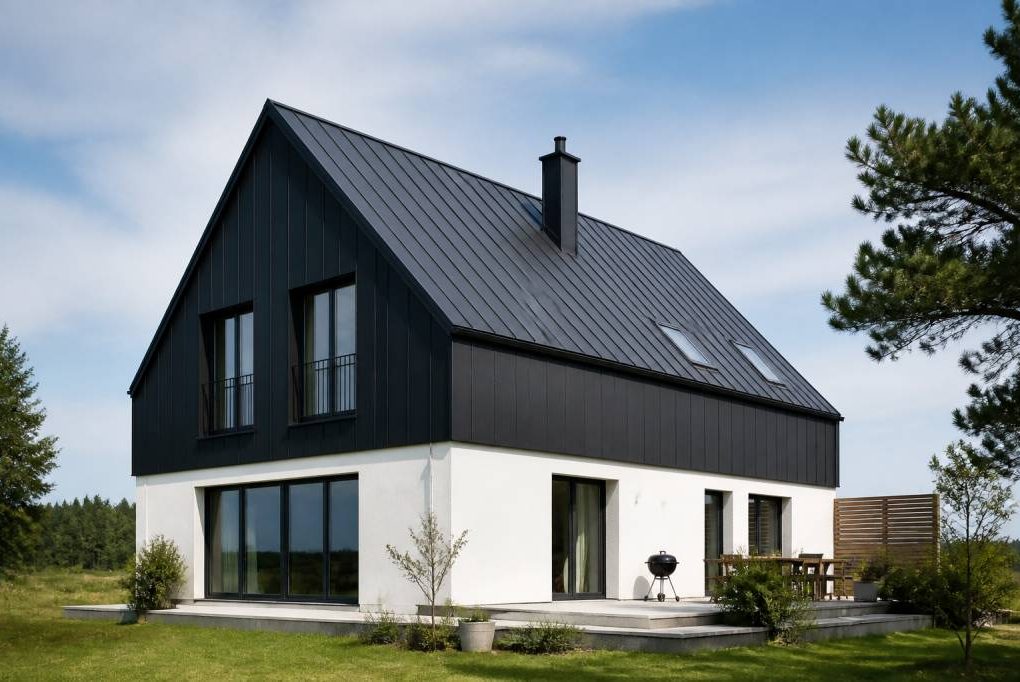
16/12 pitch roof guide for modern homes
What a 16/12 roof pitch actually means A 16/12 pitch roof is steep. Very steep. For every 12 inches of…

50’s style design ideas for a contemporary home
If you like the clean lines, calm colours and practical layouts of a contemporary home, but you also have a…

50’s design ideas for contemporary homes
Mid-century interiors have survived every trend cycle for a reason: they’re practical, legible, and surprisingly easy to adapt to modern…

1950s design ideas for contemporary homes
1950s design still has a strong pull on contemporary homes. And that makes sense: the decade gave us clean lines,…

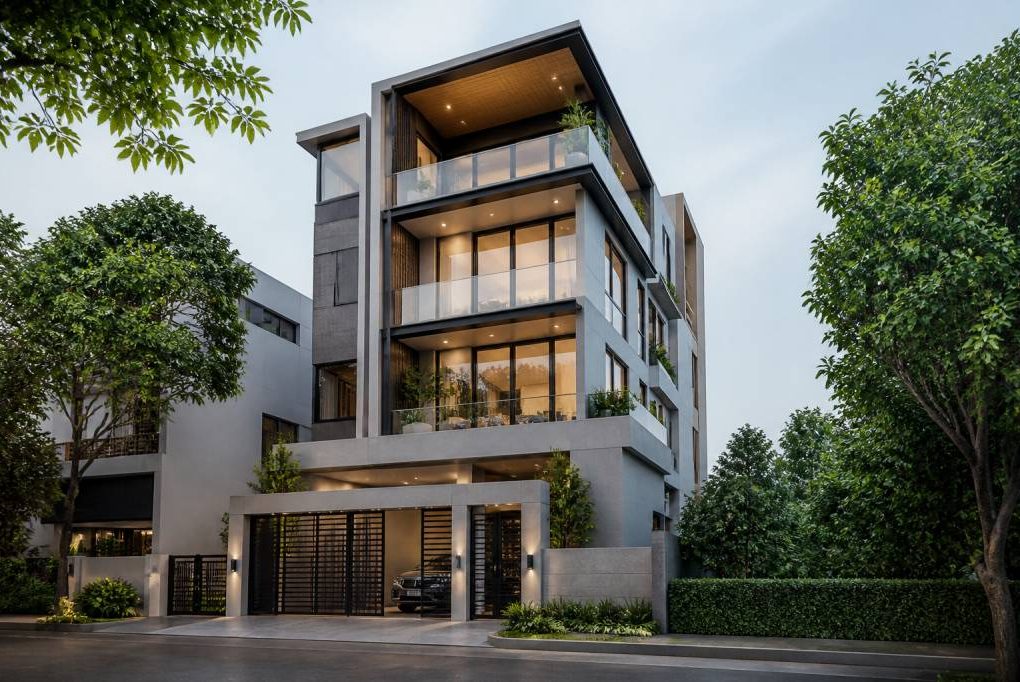
4 story home design ideas for modern living
Designing a four-story home is a different exercise from styling a compact apartment or even a standard two-storey house. You…

2nd story decks for safer outdoor living space and modern home design
A second-story deck can transform the way a house lives. Done well, it adds a real outdoor room: a place…

2 story deck ideas for modern homes
A two-storey deck can do more than add outdoor square footage. Done well, it gives a modern home a clearer…

4 story house designs for modern architecture and flexible family living
When families start looking for a home that can actually keep up with real life, the brief is usually more…

Concrete, steel and glass: balancing industrial and warm design
Concrete floors, exposed steel beams, glass partitions… and yet you still want your home to feel cosy, not like a…


